
DJIA Cache – CDN Tab
The CDN tab allows you to configure a Content Delivery Network (CDN) for serving static assets such as CSS, JavaScript, images, and fonts.
Using a CDN can significantly improve page load times by delivering assets from servers located closer to your visitors.
Sections included in this tab:
- CDN Configuration
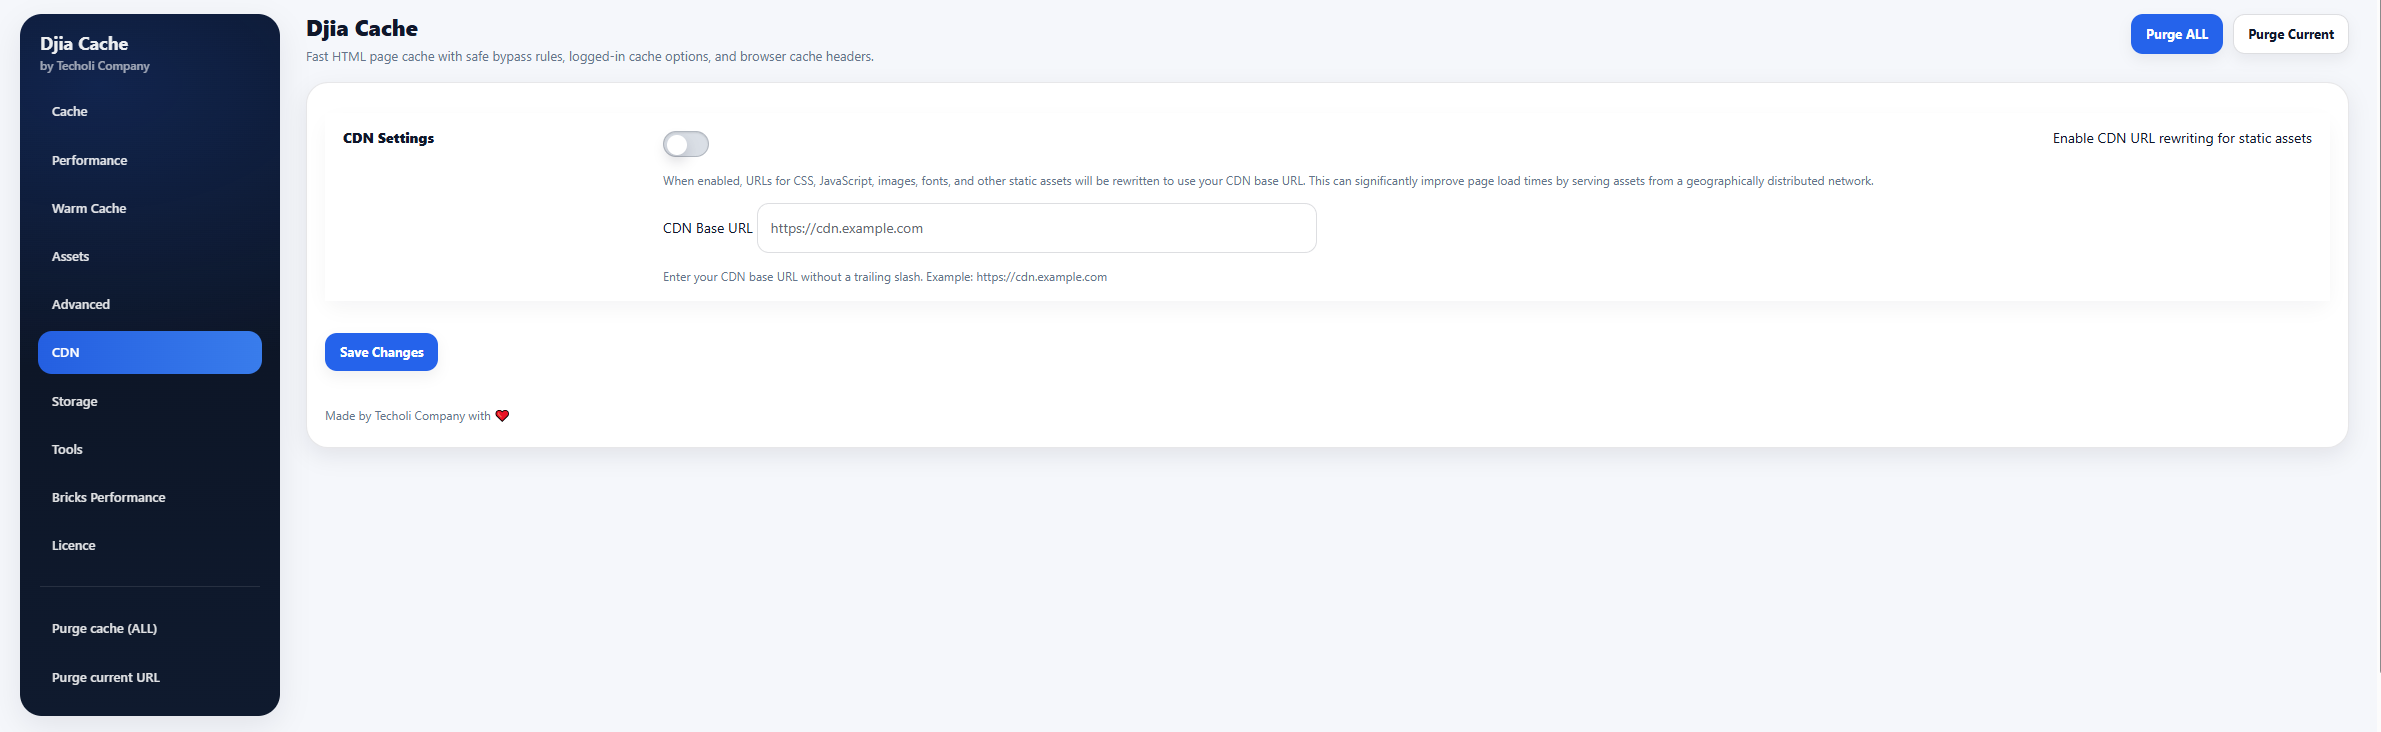
CDN Configuration
Follow these steps to enable CDN support in DJIA Cache.
Step 1 — Open the CDN settings
Navigate to:
Settings → DJIA Cache → CDN
This tab contains the options required to enable CDN URL rewriting for static assets.
Step 2 — Enable CDN URL rewriting for static assets
When enabled, DJIA Cache automatically rewrites the URLs of static assets to use your CDN domain.
Affected assets include:
- CSS files
- JavaScript files
- images
- fonts
- other static resources
Example:
Original asset URL:
https://example.com/wp-content/themes/theme/style.css
Rewritten CDN URL:
https://cdn.example.com/wp-content/themes/theme/style.css
Benefits:
- faster asset delivery
- reduced server load
- improved global performance
Step 3 — CDN Base URL
Enter your CDN base URL.
Example:
https://cdn.example.com
Important notes:
- Do not include a trailing slash
- The CDN must mirror your website’s asset paths
- Ensure the CDN can access files from your WordPress installation
Step 4 — Save changes
Click Save Changes to apply the CDN configuration.
Once enabled, DJIA Cache will automatically rewrite eligible asset URLs to use the configured CDN.
Best practices when using a CDN
- Ensure your CDN properly caches static files
- Avoid caching dynamic HTML responses unless configured correctly
- Purge CDN cache when updating static assets
- Test your site after enabling CDN rewriting